Brandgility April Release: Whats New?
April 25th, 2025
Written by: Rob Atkinson, Product Specialist

Template Studio
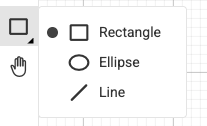
Line Elements
We’ve added line elements to Brandgility within the Shape tool menu. You can add and manipulate lines in the same way as you do with other shapes. You can also export and import lines via the Brandgility Connector InDesign plugin.
Transfer BGT files between template types
You can now export and import BGT files between template of different output types. So, if you want to make a print template from a digital BGT or an animated template from a digital BGT, this is now possible.
Multi selection of logic nodes
You can now select multi logic nodes or stacks of logic nodes by shift clocking or shift dragging. Once selected, you can perform actions such as moving, copying or deleting on all the selected node.
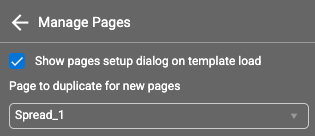
More control of manage page options
When you enable the Manage Pages option on a template to allow the user to add/delete/reorder pages, you have 2 new options. The first option specifies whether the initial dialog asking users how many pages they would like is shown. The second option allows you to specify which page should be used as the template when a new page is added.
Platform
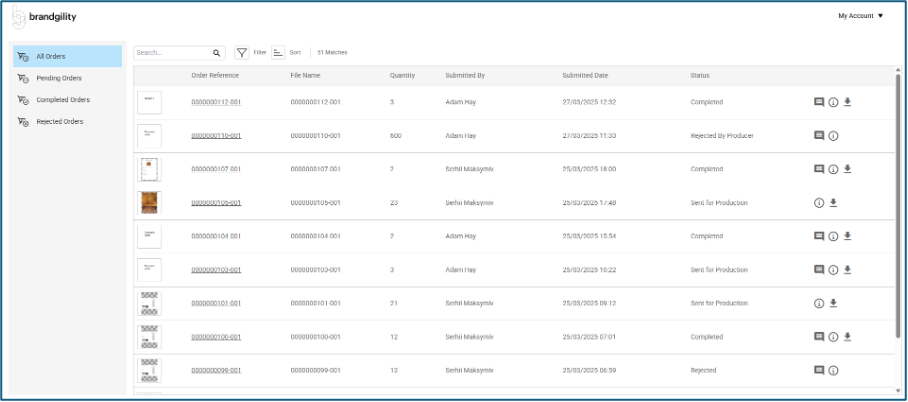
Enhanced Printer Portal
The Printer Portal pages have been enhanced to include search, filter and sort capabilities.
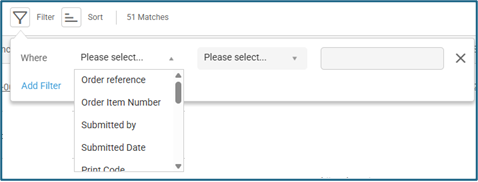
A new index has been applied to the order data, allowing a partner user to search for orders by specific fields, for example Order Reference, Submitted By, Submitted Date, Print code, etc:
The enhanced portal has retained existing capabilities, such as allowing an ordered item to be previewed and/or downloaded, and for the partner user to provide updates regarding fulfilment which are then recorded against the order.
Download Approval
An exciting new update in this release is that templates that can be configured and downloaded by a user may now have an approval step applied, allowing an approver the chance to review and approve a configuration before it is downloaded.
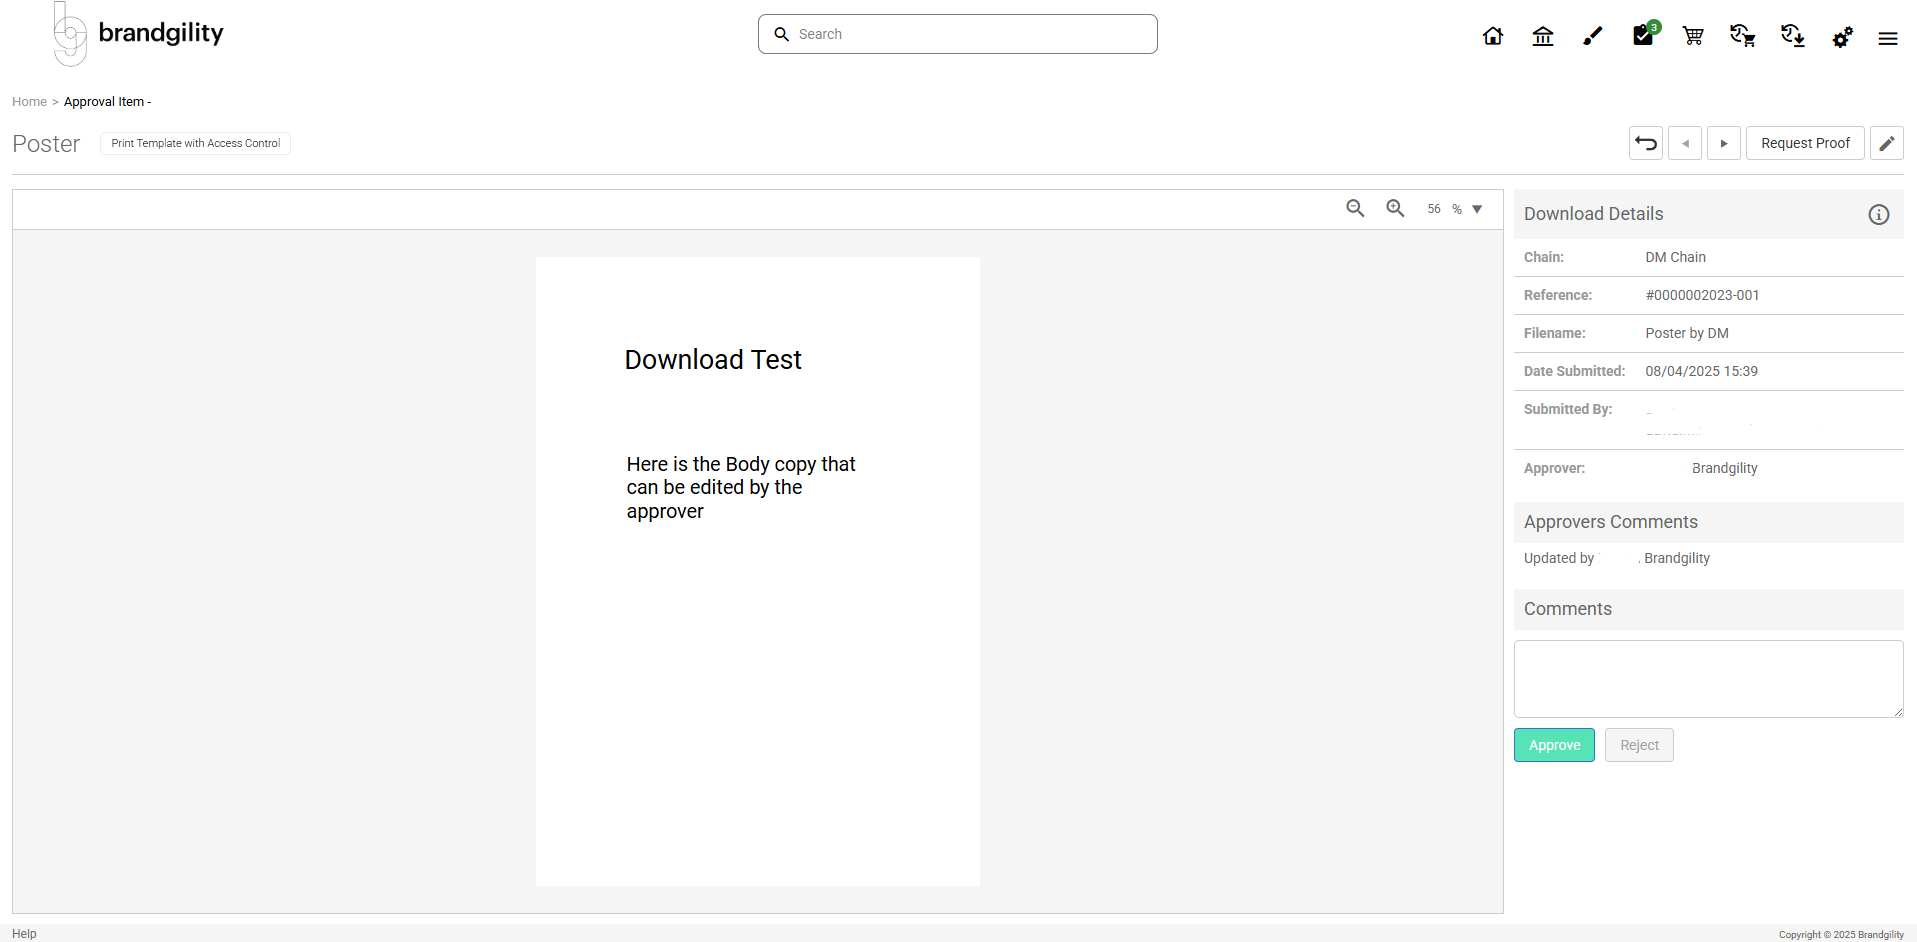
All of the standard approval functionality is available, such as approval notification, approving with comments, the approver being able to make edits or to simply reject a request prior to it being available for download.

Creating Content via the new Content Category tile
The manage UI functionality has been extended to allow for a new Create Content Tile (Content Category) tile to be configured and added to a tile list:
When used, this tile type automatically generates a tile for each content category entry (with the “Use name as lozenge” setting) that has been configured within the content categories option, as follows:

Based on the above configuration, the tile list has generated the following tiles:
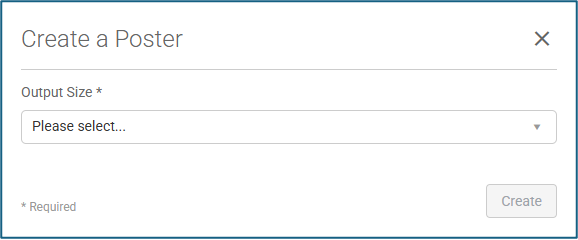
When one of the above tiles is selected by a template author, then a pop-up window appears, prompting for the selection of the appropriate size from the content category configuration:
Once the above dialogue has been completed, the template authoring page is presented at the selected size:
The template author can then complete the process of building the template.
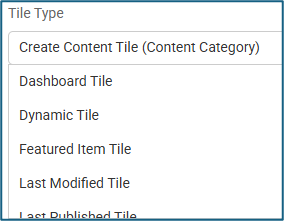
Dynamic Tile additional filters
The dynamic tile configuration has been extended to allow for additional filters to be specified, using list and text attributes. These are now shown in the configuration as “Available Filters”:
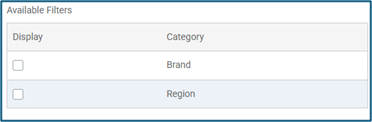
By selecting a filter from those listed, it is then possible to access the attribute entries in the “Additional Filters to be applied” section by clicking the cog icon:
Here, the administrator can select the additional filter(s) to be applied when the dynamic tiles are generated and shown to the users.
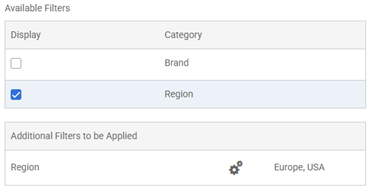
Favicon
For any account where a custom Favicon is allowed, this can now be maintained via the Manage UI – General option settings using the new image drop-area provided:
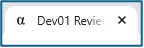
When a Favicon image is applied, then this will appear on the browser tab, alongside the account name:
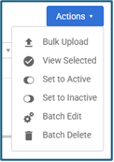
Bulk Upload
A new bulk upload option for uploading assets has been introduced for any user with the manage assets permission. This new option is accessed via the Actions dropdown option on the Asset Library:
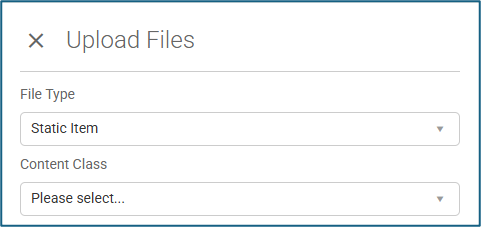
When the bulk upload option is selected, the user is presented with a flyout, and they must first select a file type from the available list:

The dropdown will offer Library asset and Static item asset types to choose from.
If a Content Class attribute is being used on the account, then the user is presented with a dropdown list of available content class options:
A selection from the list must be made, which will be automatically applied to all items uploaded.
Once these selections have been completed, then a drop-area for the files to be uploaded appears:
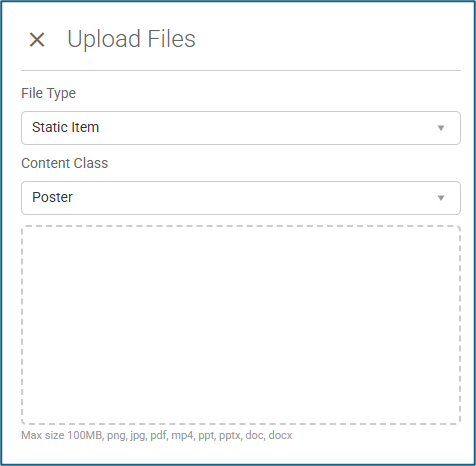
The drop-area will accept either an individual file or a groups of files. Once dropped in, these are automatically processed and uploaded into the application using the asset type (and content class) specified. As files are processed, a progress bar is shown until completion:

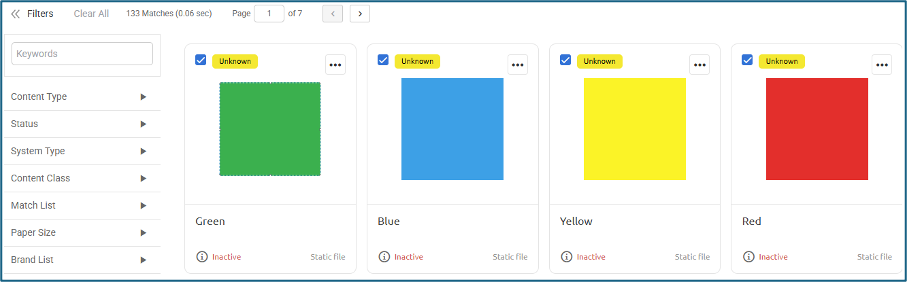
The process creates an “Inactive” asset, one for each file provided, using the name of the file.
Afterwards, the asset library is presented with each of the assets pre-selected for potential batch edit, where the settings can be amended (or this can be done individually on each asset):
Sign up for blog updates
Fill out the form below to receive blog updates to help you streamline your brand asset management
Like to learn more about how Brandgility can help your organization?
Book a discovery call today